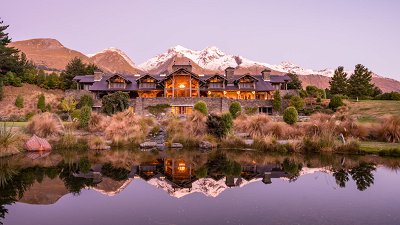

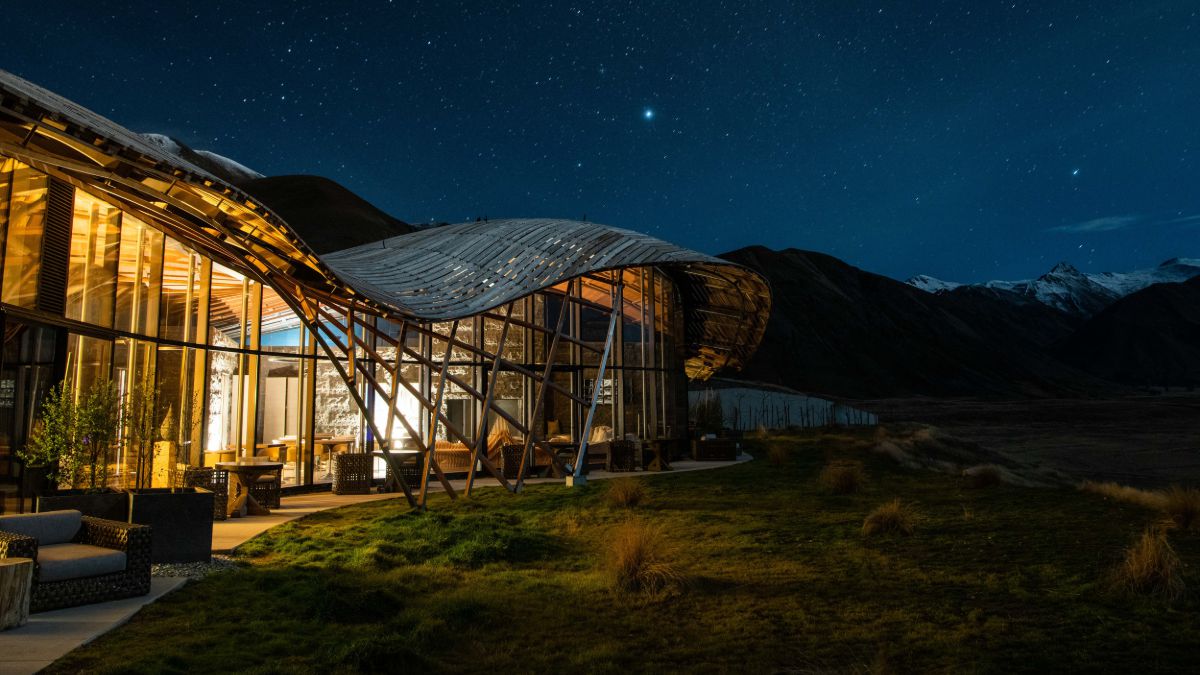

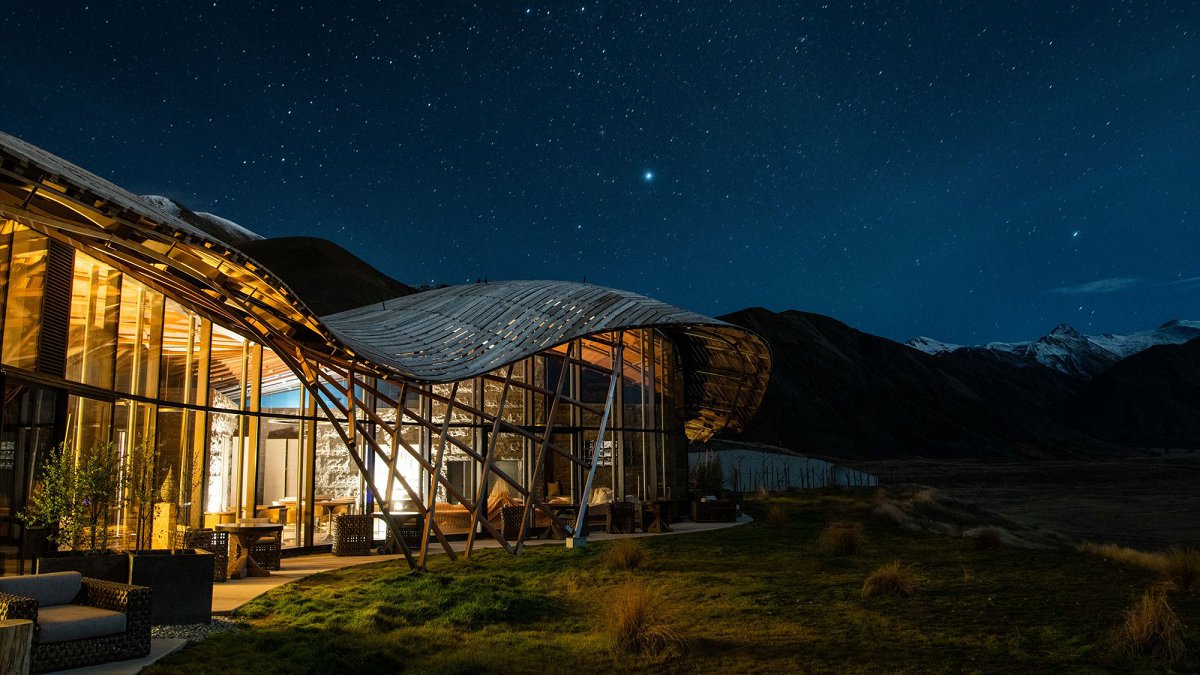


Ahuriri Conservation Park & Ahuriri Valley
- High-country valley with rivers, wetlands, tussock slopes, and trails directly accessible from the lodge area.
- Distance: ≈0–5 km
- Mode: Walk, bike, 4WD, horse; ~5–30 min to nearby access points
- Best time: Nov–Apr for hiking and biking; clear nights year-round for stargazing
- Tip: Follow DOC signage and lodge guidance; some upper-valley tracks require high-clearance/4WD.
Omarama Clay Cliffs
- Striking eroded pinnacles and ravines on private land near Omarama, reached via an unsealed access road.
- Distance: ≈40–45 km
- Mode: Car via Omarama; ~60–75 min, conditions permitting
- Best time: Year-round; mid-morning or late afternoon for softer light
- Tip: Small honesty-box entry and gravel road; drive slowly and wear sturdy footwear.
Lindis Pass Summit Lookout
- Alpine pass with tussock-covered hills and a short track to a roadside lookout above State Highway 8.
- Distance: ≈30–35 km
- Mode: Car; ~40–50 min via Birchwood Road and SH8, traffic and weather dependent
- Best time: Daytime for clear views; check for snow/ice in winter
- Tip: Park only in marked bays and avoid sudden stops on the highway.
Omarama Township
- Closest service town offering fuel, basic supplies, dining, and local experience options.
- Distance: ≈35–40 km
- Mode: Car; ~45–60 min, including gravel section
- Best time: Daytime/early evening for open services
- Tip: Use Omarama to refuel and stock up before or after remote valley drives.
Lake Pukaki & Aoraki/Mount Cook Access
- Glacial lake with views towards Aoraki and a key route to short walks and scenic drives in the national park.
- Distance: ≈140–160 km
- Mode: Car via Omarama and Lake Pukaki; ~2–2.5 hours one way
- Best time: Nov–Mar for alpine tracks; clear days for mountain views
- Tip: Plan as a full-day excursion and check weather and daylight before setting out.
General Tip: Roads around the Ahuriri Valley are remote and partly unsealed—check fuel, weather, and road conditions in advance, allow extra time, and be prepared for limited mobile coverage.